How to Calibrate Your Monitor for Color Accuracy
Plug in your monitor and let it warm up like a morning coffee—no skipping this step! Adjust settings to sRGB or Adobe RGB, turn off flashy features like auto-brightness, and set the stage with soft, neutral light. Grab a colorimeter or spectrophotometer, measure those colors like a pro, and craft a custom profile that keeps reds from looking like orangutans. Stick close, and you’ll see how the magic unfolds.
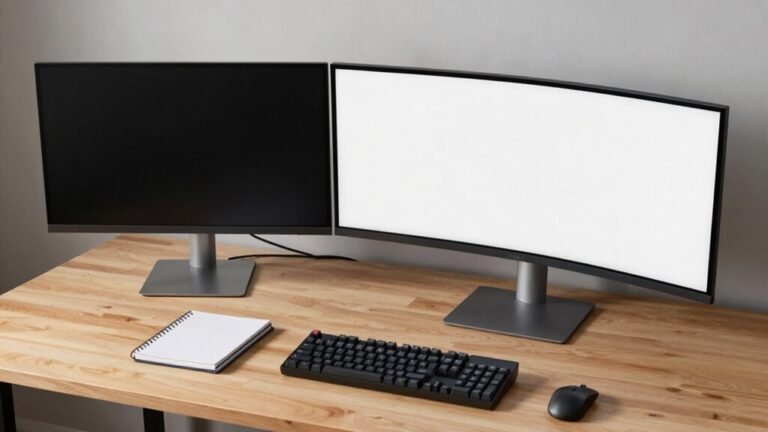
Prepare Your Monitor and Work Environment
Getting your monitor ready for color accuracy starts with a little patience—think of it like warming up before a workout, because cold screens don’t perform their best.
Power it on and let it warm up for at least 30 minutes; yeah, grab a coffee, it’s worth the wait.
Keep it running—no power-cycling mid-process or you’ll undo all that hard work.
Now, nix the sneaky stuff: turn off dynamic contrast, auto-brightness, and local dimming—they mess with your measurements like a photobomber crashes a selfie.
Pick a display mode (sRGB, Adobe RGB, or Custom) and stick with it, no last-minute changes!
Check your monitor’s internal settings too—manual control is your friend unless your hardware supports smart calibration.
And hey, treat your screen like a diva: give it center stage, set it at eye level, and keep it at your usual viewing distance.
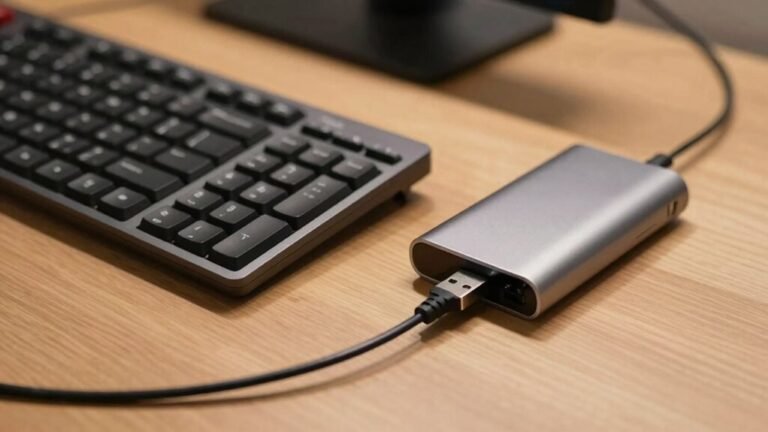
Using a calibration device ensures accurate color measurement and consistent results across editing sessions.
Set Up Proper Lighting and Viewing Conditions
Ever wonder why your photos look one way in the morning and totally different by afternoon?
Blame shifting light.
For accurate color, keep room brightness steady—around 100–300 lux—like soft office lighting.
Too much sun or a single lamp can throw everything off.
Close blinds or use blackout shades to block unpredictable daylight.
Ditch warm bulbs mixed with cool ones; they create weird color casts.
Aim for 5000K–6500K lighting—close to daylight—and use high-CRI bulbs so colors stay true.
Matte walls, neutral grays, and removing glossy distractions help, too.
Position your screen perpendicular to windows to kill glare, and slap on a hood to block overhead light.
Sit eye-level with the screen’s center, about an arm’s length back.
Keep your setup consistent—your eyes (and monitor) will thank you.
No more guessing if that blue is *really* blue.
Monitors bought and tested by RTINGS.com ensure reliable performance across various lighting conditions.
Choose the Right Calibration Tools

You’ve nailed the lighting, positioned your screen like a pro, and trained your eyes to spot color drift before your morning coffee goes cold—now it’s time to get serious with the tools that actually make color accuracy happen.
Skip the guesswork and pick the right gadget for the job. Here’s what to watch for:
- Colorimeters are fast, affordable, and great for most setups, but make sure yours supports your display type—OLED and mini-LED need compatible models.
- Spectrophotometers cost more, but they’re future-proof, handle HDR like a champ, and nail print-to-screen matching with crazy precision.
- Check brightness limits—some can’t handle displays over 1,000 nits, leaving XDR users out in the dark.
- Match the software to your style: easy one-click wizards for beginners, or pro-level controls if you love tweaking every detail.
Keep in mind that performance varies significantly by display type, with laptop monitors showing larger gaps among calibrators.
Configure Initial Display Settings
Explore into your monitor’s settings like you’re tuning a high-performance engine—because right now, you’re prepping the foundation for pixel-perfect color. Start fresh by resetting to factory defaults—zap away weird tweaks that mess with accuracy. Pick a neutral picture mode like Standard or Cinema; save Vivid for scrolling memes, not color work. Set color temp to 6500K for that sweet spot of true-to-life tones—no weird blue or orange casts. Adjust black level and contrast using test patterns so shadows and highlights look crisp and natural. Don’t forget your environment: dim the lights, ditch the glare, and sit straight-on. Warm it up a few minutes—no cold displays allowed!
| Setting | Ideal Choice |
|---|---|
| Reset | Factory Defaults |
| Picture Mode | Standard or Cinema |
| Color Temperature | 6500K or “Normal” |
| Black Level | Adjust with dark pattern |
| Environment | Neutral, no glare, warm up |
Measure and Adjust Color Parameters

Grab your colorimeter and get ready to geek out—this is where your monitor transforms from “looks fine” to “dead-on accurate.” You’re not just eyeballing things anymore; you’re measuring real numbers, chasing that sweet spot where colors look exactly as they should.
- Set your target – Aim for 6500K white point and gamma 2.2, the goldilocks zone for most work.
- Let it warm up – Wait a few minutes so your monitor’s brightness stabilizes before measuring.
- Measure like a pro – Use your colorimeter to check luminance, white balance, and color patches across the screen.
- Chase low Delta E – Keep color errors under 1.0 so what you see is what you’ll get, every time.
Your monitor’s not just guessing now—it’s speaking the true language of light. Boom, science wins again!
Create and Apply a Custom ICC Profile
Building your own custom ICC profile isn’t just tech wizardry—it’s like giving your monitor a tailor-made suit so everything looks sharp, accurate, and true to life. You’ll need a color meter, profiling software, and a steady display setup. Set your monitor’s brightness, contrast, and color temp first—think of it as warming up before a workout. Then, let the software flash test patches and measure them. It’s kind of like a photoshoot for your screen!
| Setting | Why It Matters |
|---|---|
| D65 White Point | Matches daylight, great for web work |
| 2.2 Gamma | Feels natural to your eyes |
| Relative Colorimetric | Keeps colors accurate and vibrant |
Once done, save the profile and assign it in your system settings. Boom—your colors just got a major upgrade!
Verify Results and Maintain Calibration

Now that your custom ICC profile is snugly in place—looking sharp, by the way—it’s time to make sure everything’s performing like a well-tuned race car. Don’t just assume it’s perfect; verify and keep it that way. Here’s how to stay on top of your game:
- Test with real images – Pop open grayscale ramps and color gradients; watch for banding or weird color shifts like a hawk.
- Check Delta E numbers – Aim for under 2; that’s pro-level smoothness where colors look *just right*.
- Scan for screen flaws – Use test charts to catch dim spots or hot zones—no one likes a spotty display.
- Re-calibrate often – Every few weeks, or after big updates, give it a tune-up like your favorite gadget deserves.
Keep it fresh, keep it accurate, and your pixels will thank you—promise.
Frequently Asked Questions
Can I Calibrate a Laptop Screen Effectively With Built-In Tools?
Yeah, you can calibrate your laptop screen with built-in tools, and it’ll definitely look better—think of it like tuning a guitar by ear.
You’ll nail the basics: brightness, contrast, and that washed-out blue or orange tint.
It’s not perfect, sure, but for casual photos or scrolling, it’s a solid upgrade.
Just don’t expect studio-level color magic—your laptop’s hardware’s still calling the shots.
Does Monitor Calibration Affect Gaming or Video Streaming Quality?
Yeah, monitor calibration totally affects both gaming and streaming—you’re not just seeing more vibrant colors, you’re unleashing the true vibe the devs and directors wanted.
Crisp shadows, smoother motion, and no more eye strain from weird brightness.
Plus, your zombie apocalypse game won’t look like a faded postcard.
Trust me, once you see the difference, there’s no going back—your eyes will throw a party.
How Do I Know if My Graphics Card Supports Calibration Profiles?
You can check your graphics card’s profile support in a snap—just grab a peek at your GPU model.
If you’re rocking an NVIDIA GTX 10xx or later, AMD RX 400 series or newer, or Intel’s 11th Gen+, you’re golden.
Update your drivers, verify WDDM 2.7+, and boom, you’re ready to roll with calibration profiles—color accuracy’s got nothing on you!
Will Calibration Improve Battery Life on My Portable Device?
No, calibration won’t magically make your battery last longer, but here’s a fun twist: on OLED screens, darkening your display during calibration can save power—some tests show up to 15% better battery life watching videos!
On LCDs, though, it’s a wash unless you lower brightness.
Can I Share My ICC Profile With Other Users or Devices?
Yeah, you can share your ICC profile, but don’t expect magic everywhere.
It’ll work best with identical monitors and the same setup—same GPU, cable, and settings.
Swap brightness or switches ports?
Colors’ll go wobbly.
Think of it like sharing sunglasses—same pair, but they fit differently on different faces.
Install it in the right system folder, watch for OS quirks, and always double-check the display settings.
Sharing’s caring, but calibration’s personal.
Conclusion
You’ve tamed the rainbow and brought truth to your screen—awesome job! Now colors sing in harmony, not chaos. Think of your monitor as a loyal painter, finally using the right brushes. A little calibration magic keeps your digital world vibrant and honest. So go ahead, bask in those crisp, true tones. Your eyes will thank you, and, hey, maybe your cat will too—though he still prefers chasing cursors. You’ve earned this colorful win!