How to Light Your Home Office for Video Calls
Face the window or sit slightly angled to it, so natural light flatters your face without turning you into a silhouette. Use sheer curtains to soften harsh rays, and position your desk perpendicular to dodge glare. Boost shadows with a daylight-mimicking LED or even your monitor’s glow—just keep it behind the camera. Tweak, test, and laugh at your on-screen self until it looks effortless. You’re already the main character—now let your lighting agree. There’s more where that came from.
Leverage Natural Light for a Balanced Look
Ever wonder why you look like a shadowy figure during video calls?
That’s usually because you’re fighting against poor lighting instead of working with it.
Let natural light be your secret weapon!
Position yourself so sunlight hits your face gently—think early morning or late afternoon glow—not harsh midday beams.
You’ll look clearer, feel sharper, and your brain will thank you thanks to better circadian rhythm support.
Plus, balanced daylight reduces eye strain and makes you appear more awake (no more zombie-mode close-ups).
Avoid sitting with your back to a window—you’ll turn into a mysterious silhouette, not a professional teammate.
Use sheer curtains to soften intense patches and prevent overexposure.
When clouds roll in or the sun dips too low, don’t panic—just add a daylight-mimicking LED.
Embrace nature’s free glow, and suddenly, you’re not just on camera, you’re *on point*.
Consider installing light-filtering shades for consistent, flattering illumination throughout the day.
Position Your Desk to Maximize Window Lighting
When you angle your desk to face the side of the window instead of staring straight at it like you’re sunbathing, you’ll dodge screen glare while still catching that sweet, soft glow on your face.
Placing your desk perpendicular to the window keeps sunlight off your screen, so you’re not squinting or battling annoying reflections.
You’ll get even, flattering light across your face—perfect for looking awake and professional on camera, even if you’re not.
This setup works no matter which way your window faces, and you won’t need heavy blackout blinds.
Just a light curtain or adjustable slats can fine-tune the brightness.
Plus, you still get a peek outside for mood boosts, minus the distraction of watching every squirrel run by.
It’s the lighting sweet spot: smart, simple, and seriously effective.
For optimal results, position your desk perpendicular to windows to balance natural light and minimize screen glare.
Prevent Backlighting With Strategic Window Control

Why does your face vanish into shadow the second a cloud passes—or worse, when your cat jumps on the windowsill behind you? Because backlighting turns you into a silhouette, and your camera can’t fix it.
Don’t let that window sneak up behind you—position your desk so the light hits your face, not your back.
If the sun’s behind you, your image looks dark or blown out, and no one wants to guess where you disappeared to.
Flip your setup to face the window instead, or place it to the side for even lighting.
Use blackout blinds to take control—don’t let shifting clouds ruin your call clarity.
Test your lighting before meetings, and laugh at your shadowy twin in the preview.
Smart window control means you stay bright, clear, and finally, seen. The brightest light source should ideally be positioned in front or at a 45-degree angle to your face to ensure even illumination and minimize distraction.
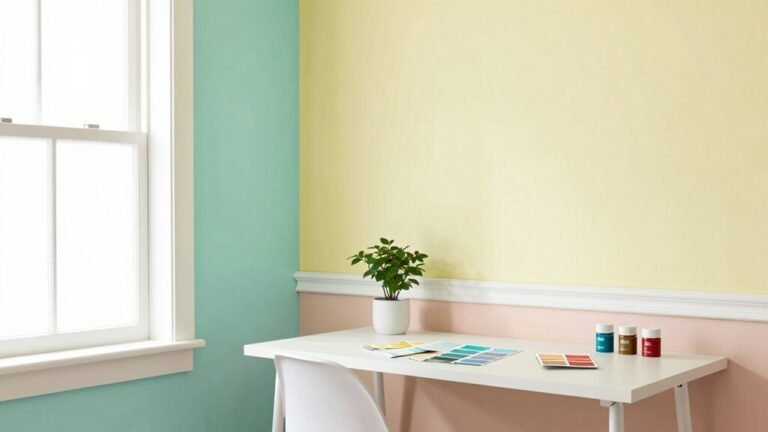
Use Curtains to Soften Harsh Sunlight
A well-placed curtain can be your secret weapon against harsh sunlight, transforming that glaring noon sun into a soft, flattering glow.
You’ll look polished on camera without squinting like you’re on a tropical beach. Here’s how to get it right:
- Pick sheer fabrics like linen or voile—they let light in but take the edge off, so you’re not washed out.
- Go for neutral colors like light gray or beige—they won’t tint your face blue or orange, no matter what the camera thinks.
- Hang curtains wider and higher than your window—more control, less surprise sunbeams ruining your big announcement.
- Layer sheers with heavier drapes—because sometimes you need drama, but not in your lighting.
Bonus: no more looking like a silhouette in last week’s meeting. You’ve got this!
Combine Natural and Artificial Light Effectively

Though you can’t control the sun, you *can* team up with it—think of natural light as your co-host and artificial lighting as the trusty sidekick that jumps in when daylight falters.
Position yourself facing a window or slightly off-center so sunlight softly brightens your face without harsh shadows or silhouettes.
Use sheer curtains to diffuse glaring midday rays, and match your artificial lights to the daylight’s tone—around 5000K for noon sun, warmer in the morning or evening.
Add a gentle fill light to lift shadows under your eyes, and toss in a small background glow to keep you from blending into the wall.
Keep ceiling lights off—no one wants to look like a spooky campfire story.
Tweak settings as sunlight shifts; your camera shouldn’t have to guess what color your face really is.
With a little coordination, you’ll look naturally radiant—no filter needed.
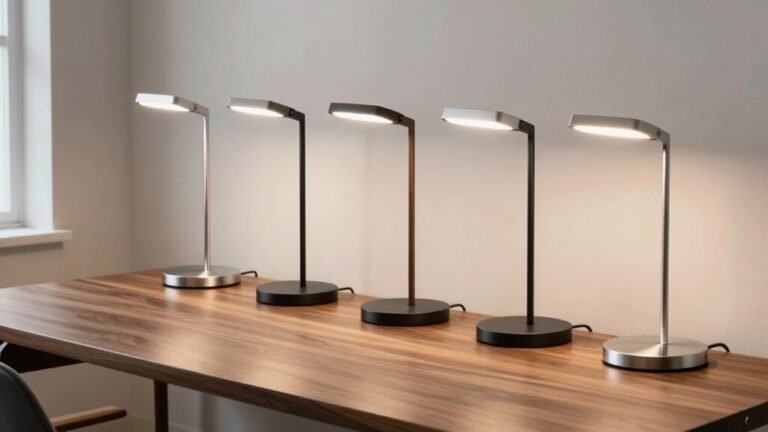
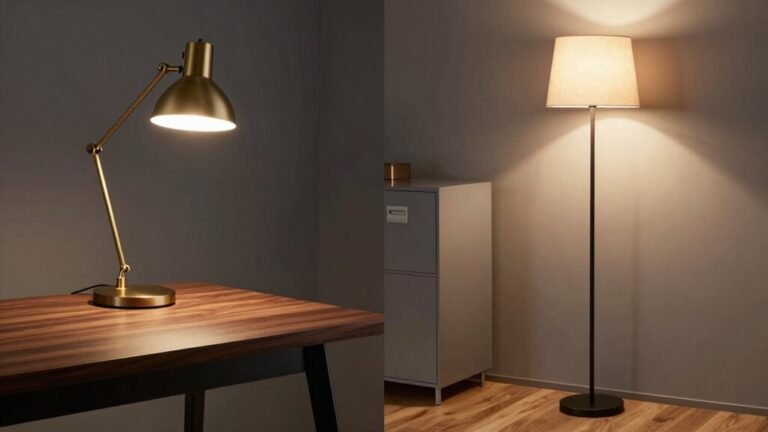
Choose the Right Artificial Light Sources
Now that you’ve got the sun working with you instead of against you, it’s time to pick your artificial lighting lineup—think of it as casting the supporting actors in your daily video show.
You want lights that make you look alert, warm, and professional—not like a haunted painting or a glowing ghost.
Here’s how to feel confident and camera-ready:
- Choose LED bulbs with a color temperature between 3000–5000 K—you’ll look naturally vibrant, not sleepy or sci-fi.
- Pick fixtures with a CRI of 90 or higher so your skin tones stay true, not orange or washed out.
- Go for dimmable, flicker-free lights to avoid eye strain and creepy screen flickering.
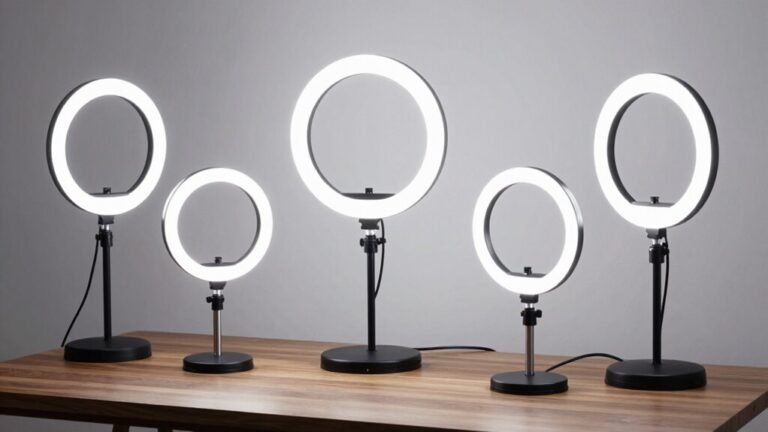
- Use softboxes or ring lights to smooth out shadows—you’ll look like you hired a pro, not battled bad lighting.
Bonus: adjustable arms and diffusers let you tweak on the fly. Your face will thank you.
Set Up a Flattering Key Light Position

Let’s get you glowing like a well-lit superstar—because nobody wants to look like a raccoon squinting into a flashlight.
Place your key light 6–18 inches above your eyes so it shines down at a gentle 15–30°—this softens shadows under your eyes and chin without looking like a horror movie spotlight.
Keep it centered near your camera, just above or beside your monitor, so light hits your face evenly and you don’t look lopsided.
Want a little more drama?
Move it to 10–11 o’clock to add subtle depth and cheekbone flair.
Use a diffuser or softbox to keep harsh lines at bay.
Keep the light 1–3 feet away for a soft, even glow, and tweak brightness so your face isn’t blown out.
Aim for that sweet spot where you look awake, not alien.
Incorporate Fill Light to Reduce Facial Shadows
Wondering why one side of your face always looks like it’s plotting a sneaky escape into shadow?
That’s where fill light saves the day—softening dark spots and balancing your look without drama.
You’re not just visible now, you’re *seen*.
Here’s how it transforms your video vibe:
- You feel confident, because harsh shadows that make you look tired or stern just melt away.
- Your expressions come alive, with depth and warmth that lets your true personality shine.
- Meetings feel more connected, since eye contact stays clear, not lost in under-eye caves.
- You look professional, not like you’re filming a thriller in your closet.
Place your fill opposite the key light, around 45 degrees, at eye level, and dimmer than your main source. Use a soft LED, bounce light off a wall, or grab a foam board—it all works! Test it, tweak it, and watch the difference pop.
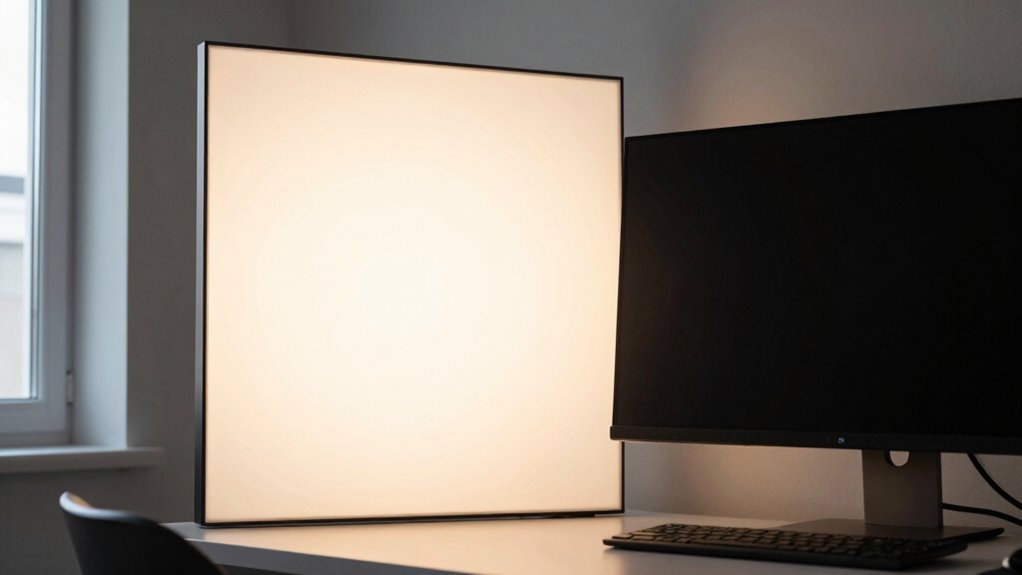
Optimize Screen Light as a Budget-Friendly Aid

Harnessing your screen’s glow isn’t just for binge-watching videos—it’s your secret weapon for looking camera-ready without spending a dime.
Position your monitor right behind your webcam and let that soft glow act as a free key light.
Keep the brightness low enough to avoid a ghostly, overexposed face, but bright enough to lift shadows.
Angle the screen slightly down for flattering, even coverage.
If it feels too harsh, dim it and pair with a nearby lamp—you’re basically building a lighting rig out of what you already own.
Match your screen’s color temperature to your room lights (think warm for cozy, cool for crispness), and avoid sitting with windows or bright screens behind you—nobody wants to chat with a mysterious silhouette.
Your screen’s not just for emails; it’s your glow-getter, ready to make you look bright, clear, and totally *together*—even in pajama pants.
Test and Fine-Tune Your Lighting Setup
How’s your lighting really looking on camera—crisp and clear or stuck in “mystery silhouette” mode?
Time to test and tweak like a pro.
Don’t guess—see exactly how you appear with these steps:
- Run a test call in your meeting app’s preview to catch harsh shadows or that “zombie glow” from bad color balance.
- Record clips at different times of day—spot when sunlight turns your face into a glowing orb or casts a dramatic villain shadow.
- Take screenshots of each setup so you can compare and finally nail that “I woke up like this (perfect)” look.
- Note every detail—bulb temp, lamp angle, brightness—so your winning setup never gets lost in lighting limbo.
Play with positions, fix flicker, and banish glare. When your lighting *just works*, you’ll feel like the main character—because you are.
Frequently Asked Questions
Can I Use a Smart Bulb as My Main Light Source?
Yeah, you can totally use a smart bulb as your main light source—it’s way more flexible than you might think.
Just pick one with adjustable color and brightness, set it to around 4000K–5000K, and aim it right at your face.
Pop it in a desk lamp, angle it down a bit, and boom: no more shadow monsters or zombie lighting.
With a quick app tweak, you’ll look awake, even if you’re not.
How Do I Avoid Glare on My Glasses During Calls?
You tame that glare like a pro wrangler corralling a sparkly tornado!
Tilt your glasses down a smidge or adjust your screen lower so light doesn’t bounce straight back.
Swap bright frontal bulbs for soft side lighting, and twist a polarizer filter onto your webcam—it’s like sunglasses for your camera.
If you’re feeling fancy, try Shamir lenses—they laugh at glare.
Boom, crystal-clear eyes, zero disco-ball effect!
Is Colored Lighting Appropriate for Professional Video Calls?
Nope, skip the colored lighting—it’s a party vibe, not a boardroom one.
You want to look sharp and trustworthy, not like a disco ball.
Stick to neutral whites with adjustable temps between 5000K–6500K.
That way, you’ll look natural, skin tones stay true, and your focus stays on ideas, not funky hues.
Save the rainbow glow for movie night!
What’s the Best Lighting for a Small Home Office?
You’re the star of your tiny office stage, so shine smart, not hard.
Grab a compact LED panel or clip-on ring light—it’s your spotlight that won’t hog space.
Keep it bright but soft, around 500 lumens, with a color temp of 4000K for that “I’m awake and sane” glow.
Add a diffuser, dodge harsh shadows, and boom: you look pro, not like a hostage video.
Do I Need Lighting if I’M Using a Virtual Background?
Yeah, you still need good lighting even with a virtual background—your camera’s not magic (yet).
Bright, even light helps the software tell you apart from your digital beachfront or space station.
Skip the silhouette look, soften harsh shadows, and avoid backlight chaos.
Front light? Yes, please.
Add a little glow behind you for depth, and boom—crisp, flicker-free video that won’t make your pet look like a glitchy hologram.
Conclusion
You’ve got this! With natural light and a few smart tweaks, your video calls will shine brighter than a spotlight on Broadway. Position, soften, and add that fill light—voilà, you look pro without the fuss. Even your cat will be impressed. Test, adjust, and own your on-screen glow. Light it right, and hey, who knows—maybe you’ll accidentally become the best-dressed, best-lit star of the Zoom meeting. Again.