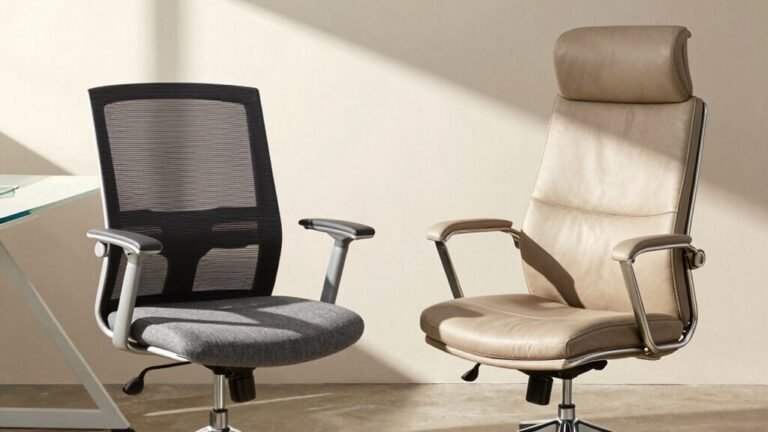
How to Fix a Squeaky Office Chair Fast
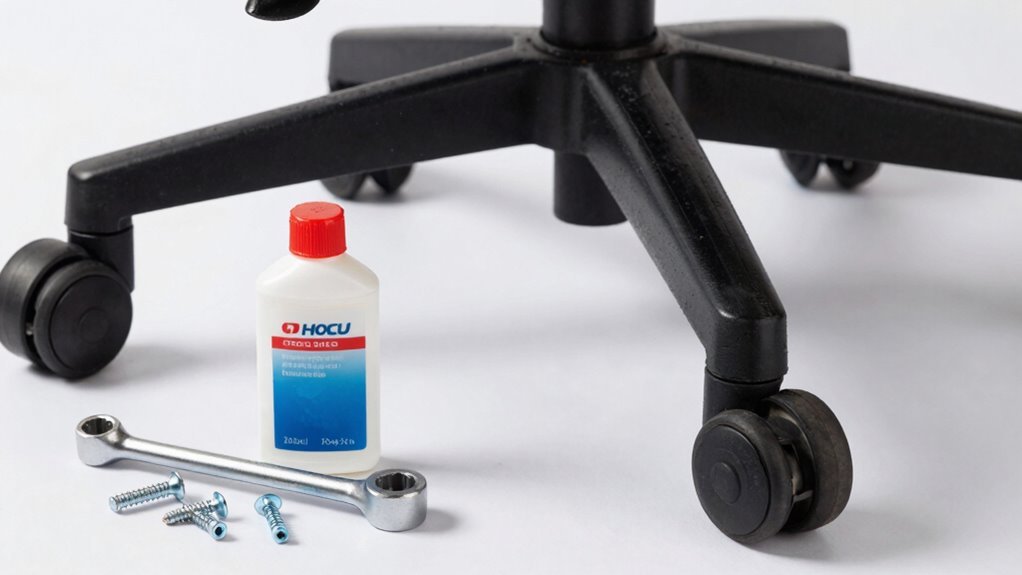
You’re about to shut that squeaky office chair up fast—no degree in rocket science needed! First, spin it over and peek for loose screws or wobbly parts. Then grab a wrench and tighten everything that moves, especially under the seat. Spray a little WD-40 or silicone grease on metal joints—magic happens when you wiggle the parts to work it in. Still chirping? Oh, you’ll love the clever tricks hiding a few steps ahead…
Identify Where the Squeak Is Coming From
Where’s that squeak coming from—mystery or just a loose bolt waiting to be found?
Start by sitting still and pressing down; if it squeaks without moving, the seat plate or gas lift’s probably whispering secrets.
Now, rock forward and back—heard it? Likely your tilt mechanism’s begging for attention.
Lean back slowly; noise now? That’s your backrest or tension springs chatting.
Give a gentle swivel twist; squeak tags along? The swivel bearing or gas cylinder’s likely the culprit.
Roll the chair—gritty tunes mean caster trouble.
No disassembly needed yet!
Try wiggling parts, listening close, or even using a buddy to spy the sound.
Press on suspect spots while moving—if the noise changes, bingo!
You’ve caught the offender.
A little cardboard test between joints can confirm rubbing parts.
Keep it light, stay Curious, and remember: every squeak’s a clue, not a dead end!
Squeaks often stem from friction between moving parts, so listen for metal-on-metal or plastic-on-plastic contact when diagnosing.
Flip the Chair and Inspect for Loose Hardware
Turning your chair upside down is like giving it a spa day—except instead of cucumbers, you’re handing it some well-deserved attention and a little elbow grease.
Start by checking the base where the gas lift connects—look for cracks, gaps, or worn spots, and make sure the cylinder sits snug and flush.
Run your fingers around the socket; any wobble or roughness means trouble.
Peek at the clips or rings holding it in place—they love to go missing!
Flip to the seat plate and hunt for bent tabs, stripped threads, or rusty spots where parts rub painfully together.
Don’t ignore the tilt mechanism—wipe out dust and check pivots and springs for wear.
Armrest bolts? Backrest brackets? Make sure they’re not loose, cracked, or squeaking in protest.
And yes, eyeball those casters—wobbly stems or busted wheels can fake you out.
Every tiny part counts!
A squeak usually signals a loose or broken part, so addressing these areas thoroughly can eliminate the noise at its source.
Tighten All Screws, Bolts, and Fasteners

Now that you’ve given your chair a thorough once-over and checked for any sneaky loose parts, it’s time to roll up your sleeves and start tightening things down.
Grab your screwdriver, Allen wrench, or trusty wrench—most fixes need just those.
Flip the chair carefully onto a drop cloth, then work through common trouble spots: under the seat, at the backrest, armrests, base, and tilt mechanism.
Tighten each bolt snugly, but don’t go full Hulk—overtightening can strip threads or crack plastic. Think “firm handshake,” not “death grip.”
Replace any missing or worn screws with fresh ones from the hardware store. Misaligned bits? Adjust and re-secure.
Once everything’s tight, flip it back and give it a test wiggle, spin, and recline. You’d be surprised—tightening fixes up to 30% of squeaks, and your chair will feel sturdier than ever. Boom—quiet *and* confidence restored!
Loose screws and bolts are a leading cause of chair noise, so ensuring they’re secured addresses the most common source of squeaks: loose screws and bolts.
Apply Lubricant to Moving Metal Components
Grab your favorite lubricant and get ready to silence those squeaks like a pro—because nobody’s got time for a chair that sounds like a haunted robot.
You’ve tightened the bolts, now it’s time to slick the metal parts that grind and groan. Pick the right lube: not all heroes wear capes, but they should resist dust, heat, and wear.
Work smart—protect your floor, wear gloves, and ventilate the room so you don’t breathe in fumes while you play chair surgeon.
Here’s how to do it right:
- Use WD-40 to loosen stuck, rusty joints before adding long-lasting grease.
- Switch to white lithium grease on high-pressure spots like pivot pins and rails.
- Aim the straw into tight gaps and actuate the part—rock, spin, tilt—to work the lube in deep.
- Skip cooking oils—they gum up and attract grime like a magnet.
Treat the Gas Lift and Height Adjustment Mechanism

That squeaky joint isn’t just annoying—it’s a cry for help from your chair’s inner workings, and now it’s time to give the gas lift and height adjustment system some serious TLC.
First, strip off the plastic cover to expose the metal cylinder, then snug a hose clamp around it—wrap it in rubber tape first for extra grip.
Slide it to the top and tighten the screw until it’s just right.
If the height adjustment is sluggish, swap out the old mechanism: pop off the knob, screw in the new one, and reattach the seat securely.
For wobbly linkages, clean the parts, glue ‘em with epoxy, and let it cure overnight—no more slippage!
If your cylinder’s sagging, slip on a black ABS pipe extension for a slick, steady fix.
And hey, if it’s really shot, just replace the whole manual lift—springs, board, and all.
Your throne deserves to rise to the occasion!
Address Squeaks in the Tilt and Recline Mechanism
Squeak no more—your chair’s tilt and recline mechanism is about to get a spa day!
You’ll love how smooth and silent it can be with a few smart tweaks.
No more creaks when you lean back—just pure, quiet comfort.
Here’s how to show that mechanism some love:
- Adjust the tilt tension knob under your seat by turning it counterclockwise—most chairs ship way too tight!
- Flip the chair over and snug down any loose screws or bolts, especially where the seat meets the base.
- Spray pivot points and levers with WD-40, then work the mechanism back and forth like you’re cracking open a stubborn jar.
- Check the tilt lock lever and springs—replace broken springs or dislodge gunk blocking smooth movement.
Done right, your chair will recline like it’s on cloud nine—quiet, smooth, and totally drama-free.
Perform Routine Maintenance to Prevent Future Noises

While you’re keeping your chair happy and quiet, a little regular TLC goes a long way in stopping squeaks before they even think about showing up.
Every 3–6 months, grab a wrench or screwdriver and snug up loose bolts—especially under the seat or at the armrests—but don’t crank too hard or you’ll mess up the threads.
Keep an eye on casters; yank out tangled hair and grit with a quick vacuum or brush.
Toss in a blast of compressed air to clear dust from swivel joints and hinges.
Every few months, hit pivot points with a quick spray of silicone or a dab of light grease, then rock back and forth to work it in—because nobody’s got time for squeaky soundtracks.
Match old screws with exact replacements if any are trashed.
Jot down what you did in a notebook (or on a sticky note—hey, no judgment).
A few minutes now saves you from a creaky crisis later.
Your chair’s not just functional—it’s family!
Frequently Asked Questions
Can I Fix a Squeaky Chair Without Tools?
Yep, you can totally fix a squeaky chair without tools!
Just grab some lubricant spray or even a little WD-40 on a rag and hit those moving parts—swivel base, casters, tilt mechanism.
Rock back and forth to work it in.
Clean gunk from the wheels, slide a folded napkin where plastic rubs, or drop a pencil’s graphite into tight spots.
Quick, easy, and quiet—your chair’ll thank you!
Is It Safe to Use Oil Instead of Silicone Lubricant?
No, you shouldn’t use oil instead of silicone lubricant—it might seem like a quick fix, but it’ll backfire.
Oil can gunk up parts, attract dirt, and even damage seals or plastic over time.
Think of it like putting maple syrup in your engine—sticky now, messy later.
Silicone sprays glide smoothly, last longer, and won’t wreck your chair.
Save the oil for salads, not chairs!
How Long Does Lubricant Last on Chair Parts?
Lubricant on chair parts usually lasts weeks to a year, depending on what you use and how much you move.
You’re looking at several months for silicone spray, up to a year for grease, but dust, weight, and constant spinning can shorten that fast.
Treat it like sunscreen—reapply before it quits!
Keep things smooth, and your chair’s quiet dance will go on and on.
Will Replacing the Gas Lift Stop All Squeaks?
No, replacing the gas lift won’t stop all squeaks—only the ones coming from the height mechanism.
You might still hear noises from wobbly casters, a stiff tilt, or creaky armrests.
Think of it like swapping car shocks but still having noisy tires.
For total peace, check every joint, tighten screws, and hit moving parts with silicone spray.
A silent chair’s a team effort!
Can a Squeaky Chair Cause Back Pain?
Yeah, a squeaky chair can actually cause back pain over time.
You’re probably shifting around without realizing it, throwing off your posture.
That tiny wobble or noise? It’s your chair telling you something’s wrong—like loose parts or worn foam—making you slouch.
And slouching means extra pressure on your spine.
Fix that squeak early, or you might end up with more than just a noisy office serenade!
Conclusion
You’ve tamed the creak, silenced the squeak—you’re practically a chair whisperer now! Think of your office throne as a well-oiled dance partner, gliding smooth with every move. A little love goes a long way, so don’t ghost those screws and hinges. Stay on top of tune-ups, and your chair will sing harmony, not horror-movie sound effects. Victory tastes sweet, and hey, no more embarrassing squeaks during Zoom calls!