Setting Up Your Microphone for Crystal Clear Calls
Pick a mic that fits your space—like the SYNCO P1S for windy parks or the Rode Wireless Pro for crisp home audio. Place it 6 to 12 inches from your mouth, just off-center to dodge plosives. Use a shock mount to kill vibrations, and set levels so peaks stay around -6 dB. Tame room echo with rugs or panels, then fine-tune with noise reduction and a high-pass filter. Mute on the fly with a Yeti X or go wireless with dual mics for two voices. Smooth, clear calls are totally doable—you’ll wonder how you ever chatted before. There’s a bit more magic where that came from.
Choose the Right Microphone for Your Environment
Picking the perfect mic isn’t just about sound—it’s about matching your vibe and space with the right tech buddy.
If you’re filming on the move, grab the SYNCO P1S with its 150m range and fur-covered windscreen—great for windy parks or noisy streets.
Need two people miked? The P2X’s got your back with dual transmitters and solid noise cancellation.
For top-tier audio at home, the Rode Wireless Pro’s 32-bit float recording catches every whisper, while the USB Yeti X gives instant mute and headphone control—perfect for frantic “oops” moments.
Small space or solo sessions? The HyperX SoloCast is plug-and-play simple.
Got a podcast setup? Dynamic mics like the Shure SM7Db squash background noise like a pro.
And hey, if you’re just hopping on calls, even AirPods or a Jabra headset work wonders.
Match your mic to your moves, and you’ll sound awesome—no magic required.
With up to 8 hours of battery life, the G2 Pro keeps you powered through long meetings thanks to its long battery life.
Position the Microphone for Optimal Clarity
You’ve picked your mic—now let’s get it in the right spot so you sound like the star of every call, not just a muffled voice in the shadows.
Place it 6 to 12 inches from your mouth—close enough to catch every word, but not so close you sound like a blurry bass monster.
Line the mic up with your mouth, aiming just between your nose and lips to grab all that vocal magic.
Try angling it slightly off-axis to dodge “pops” from plosives—your “p” and “b” won’t blow out the eardrums.
If sibilance’s a problem, shift it 2–4 inches to the side; it’ll smooth out the harshness.
Record a quick test, then tweak the height, angle, or distance.
Every voice is different, so play around until you nail that sweet, clear tone.
Align the microphone diaphragm with your mouth for the most accurate sound capture and consistent tone.
You’ve got this—now go shine.
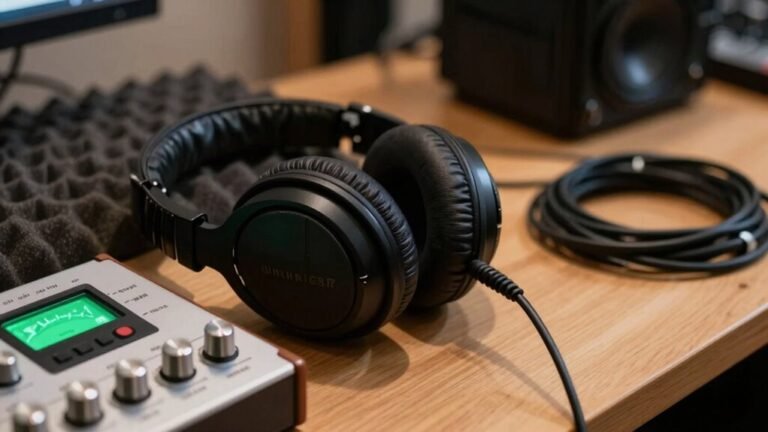
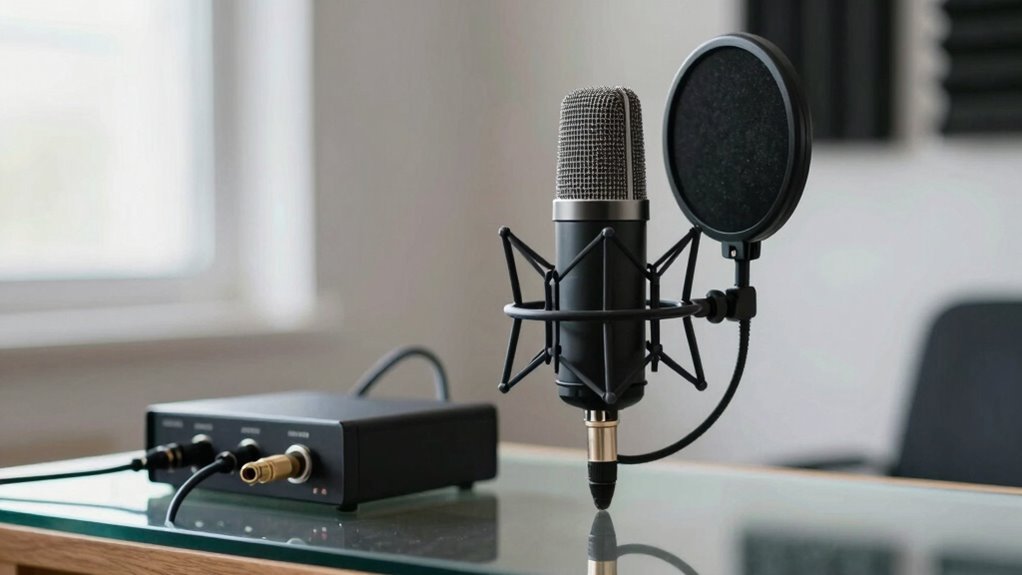
Mount Your Microphone Properly to Reduce Noise

Lock in your mic like a pro and say goodbye to unwanted rumbles, bumps, and desk-jiggling drama.
Use a shock mount—it’s like a suspension system for your mic—so vibrations don’t ruin your sound.
Models like the Rycote Invision USM can cut noise by up to 30 dB.
If you’re using a boom arm or stand, even a budget one from Amazon Basics, it’ll keep things steady and squeaky-clean.
For handheld use, wrap foam around the mic or use a pipe slightly larger than the body to dampen noise—think DIY shock absorber!
A relaxed grip on a non-slip surface stops thumb rub that can hit 80 dB SPL.
Even cable choice matters: flexible ones stay quiet, while thick cables in the cold might creak.
Add green glue in a sleeve for extra isolation.
With the right mount, your voice stays crisp, not crunchy! Proper mounting significantly reduces vibration-induced noise.
Set Gain Levels Without Clipping
Turn that gain knob like a DJ fine-tuning a banger—too low and your voice drowns in digital mush, too high and you’ll clip into robot mode.
Aim for peaks around -6 to -3 dBFS so loud laughs or sneezes won’t explode your signal.
Keep your average levels around -18 dBFS for clean, clear audio with plenty of headroom.
Watch your meters: green is good, yellow’s okay for peaks, but red? That’s a hard no—it means digital distortion, and nobody wants to sound like a broken speaker.
Use your DAW *and* interface meters since they don’t always match.
Play it safe with peak hold and oversampling to catch sneaky spikes.
Record a quick test, listen closely, and zoom in on the waveform—no flat-topped clips allowed!
Boost gain at the preamp, not in software, to keep noise low.
If things still spike, flip on a pad or step back.
Nail this, and your voice stays crisp, clear, and totally pro.
Optimize Your Room Acoustics

Even if your mic costs more than your first car, it can’t fix a room that sounds like a bathroom concert hall.
Don’t worry—taming your space is easier than you think.
Ditch the dead center; place your mic off-center and closer to you to reduce echo and crank up clarity.
Aim directional mics away from walls and windows to reject unwanted noise—think of it as acoustical ninja stealth.
Slap up some panels at reflection points, toss a rug down, and hug a corner with a bass trap or two—your voice will thank you by sounding richer, not boomy.
Got high ceilings? Hang a cloud panel like a disco ball for grown-ups.
Keep things balanced with diffusion so the room still feels alive, not like a padded cell.
Target around 0.5 seconds of reverb time, and keep background noise quieter than a cat’s whisper (under 40 dBA).
You’ll sound pro without the studio.
Apply Essential Audio Processing
Now that you’ve tamed your room and kicked the echo to the curb, it’s time to give your voice the spotlight with some smart audio tweaks.
Fire up noise reduction to zap background hums and keyboard clacks—thanks to AI, it’s like magic for your mic.
Dial in a high-pass filter around 300 Hz to ditch the rumble and tighten your tone.
Tame those sharp “s” and “sh” sounds with a de-esser so you don’t sound like a hissing snake.
Boost clarity with EQ, cutting muddiness and lifting the crisp highs just enough to shine.
Pick the Opus codec for HD-quality calls that handle jitter like a champ.
And with smart AI enhancements like voice focus and acoustic echo cancellation, your voice doesn’t just talk—it sings.
It’s not just clean audio, it’s *you*, sounding effortlessly pro.
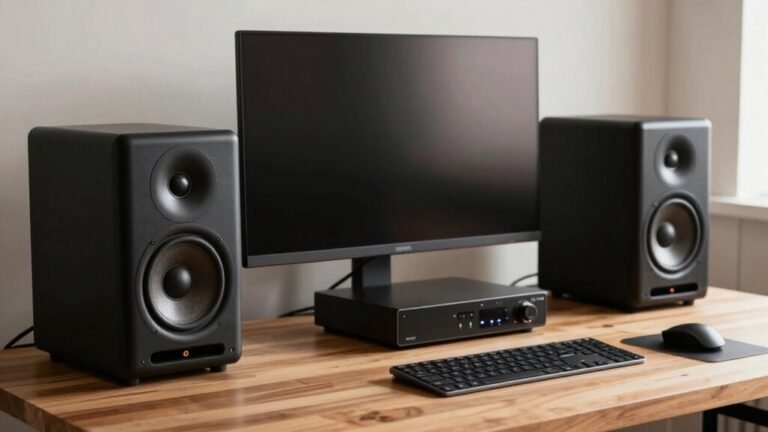
Integrate Your System for Reliable Performance

Building a rock-solid audio setup isn’t just about plugging in mics and hoping for the best—it’s like wiring a high-five between all your gear, so everything plays nice and stays in sync.
You’ve got to map your signal flow from mic to speaker, so you avoid sneaky latency or dropouts.
Use digital networking—like Dante or AES67—for long runs and crystal-clear chains, and don’t forget VLANs with QoS so your audio doesn’t get stuck in internet traffic.
Set up managed switches with IGMP, plan backups, and get AV and IT teams chatting like old pals.
Ground everything right, label every port like it’s your job (because it is), and feed your gear clean power with surge protection.
Slide it all into well-ventilated racks with neat cables, because nobody likes a sweaty, tangled mess.
Choose gear that plays well with others, supports remote updates, and speaks the same digital language.
Do this right, and your system won’t just work—it’ll *sing*.
Test and Troubleshoot Before Going Live
Before you jump into your big call, take a few minutes to test and troubleshoot—because nothing kills confidence like hearing “You’re on mute!” for the tenth time.
Check that your mic shows up in your system and app settings, and set it as the default.
Plug cables in tight, swap out batteries, and make sure your drivers are up to date.
Speak into the mic—watch that level meter dance, but don’t let it spike.
Listen to a recording: hear echo? Background noise? Move the mic 6–12 inches from your mouth, aim it right, and wear headphones to avoid feedback loops.
Close apps hogging your CPU, and if possible, plug into Ethernet.
Test in your call app, not just system settings—permissions matter!
Do a trial run with a friend.
Real-world hiccups love to surprise you, so catch them early and own that flawless audio.
Frequently Asked Questions
Can I Use a Guitar Amp Microphone for Voice Calls?
You can use a guitar amp mic for voice calls, but it’s not ideal.
You’ll get strong, punchy mids—great for cutting through noise—but highs might get harsh, and lows can sound boomy if you’re too close.
Sibilance? Oh, it’ll pop.
Plug it into an audio interface (not your laptop’s mic jack), tweak the EQ, and you’re golden.
Just don’t expect magic—your voice isn’t a distorted guitar solo… probably.
Do I Need Phantom Power for My USB Microphone?
No, you don’t need phantom power for your USB mic—your computer’s got it covered! USB mics run on bus power from the port, so they’re good to go when plugged in.
No extra power brick, no fuss. Just plug it in, and boom, you’re live!
Think of it like charging your phone: one cable, zero drama.
Save phantom power for fancy XLR mics—they’re the divas of the mic world.
Will a Better Headphone Improve My Microphone Sound?
Funny you asked—because no, a better headphone won’t magically make your mic sound better.
But, if the headset includes a higher-quality microphone—like a noise-canceling boom or advanced mic array—then yes, you’ll sound way clearer.
Upgraded headsets often pack better mics, smarter noise filtering, and crispier audio routing, especially wired or premium wireless ones.
Can I Connect a Dynamic Mic via USB Adapter?
Yep, you can totally connect a dynamic mic via a USB adapter—just grab the right one for your device.
If you’re using a phone, check if it’s Lightning or USB-C, and avoid Apple’s older adapters unless you’ve got an iPhone 12.
Use a Headset Buddy or similar, and boom, you’re live.
Just remember, one mic at a time—your gadget won’t juggle two!
Easy, peasy, podcast-ready.
Is It Safe to Leave My Mic Powered on Always?
Yeah, you can leave your mic powered on safely—just ask Sarah, who forgot to unplug her dynamic mic for three straight months and it’s still going strong.
Condensers handle 48V fine, and dynamics don’t mind it either.
Just avoid phantom power with ribbon mics—they’ll throw a fit.
Unplug during storms, though.
Otherwise, chill, your gear’s tougher than your morning coffee.
Conclusion
You’ve got this! With the right mic, smart placement, and a few tweaks, your voice will sound crisp and clear—no more sounding like you’re calling from a tin can in the 1800s. Test your setup, squash background noise, and wow your listeners every time. It’s like upgrading from horse-drawn internet to full-speed Wi-Fi. Have fun, stay tuned, and let your voice shine loud and proud!