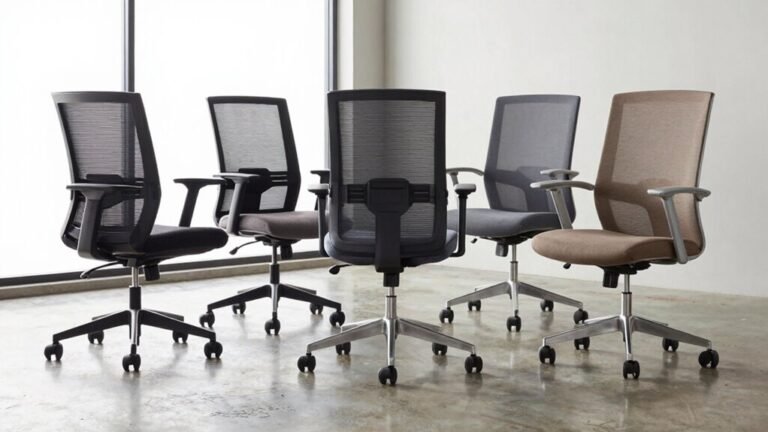
Office Chair Maintenance Tips to Extend Lifespan

You’ve got this! Wipe down surfaces weekly, vacuum crevices, and roll away lint with a quick swipe. Tighten loose screws every few months to stop wobbles before they start. Lubricate casters and joints with the right stuff—skip WD-40 unless you’re fixing height adjustments. Swap worn parts like armrests or casters to avoid a full replacement. Adjust seat height and lumbar support so your body stays happy all day. Keep it rolling smoothly—you’ll be amazed what a little TLC can do. There’s even more smart, simple hacks where that came from.
Weekly Cleaning Routines for Long-Lasting Chairs
Keeping your office chair clean every week isn’t just about looking tidy—it’s your secret weapon for making it last longer and staying fresh, comfy, and roll-ready.
Grab your vacuum with an upholstery attachment and zip through the seat, back, and all those sneaky crevices—dust, crumbs, and pet hair don’t stand a chance.
Hit hard surfaces like armrests and base with a damp microfiber cloth to wipe away grime from constant touching.
Roll a lint roller over fabric or mesh for a quick hair and fluff pickup—because who knew chairs collect lint like it’s a hobby?
Don’t forget under-seat trays—empty and wipe them clean to stop gunk buildup.
Check caster wheels, too; clear out tangled hair and threads so your chair glides instead of groans.
It’s fast, easy, and keeps your throne running smoothly—like spa day, but for your seat.
Different materials need specific care, so always tailor your approach based on your chair’s chair type.
How Tightening Hardware Prevents Premature Damage
Screws that slack off don’t stay quiet for long—loose fasteners turn your smooth-sailing office chair into a creaky, wobbly mess before you know it. You twist, it squeaks; you lean, it wobbles—annoying, right?
But here’s the fix: grab a wrench or screwdriver and give those bolts a firm quarter-turn every month. It takes just 15 minutes, and boom—no more dance moves during meetings.
Focus on armrests, backrests, and the base, since those are wobble hotspots. Tightening stops tiny shifts that wreck posture support and lead to bigger damage.
Plus, it’s cheap insurance—way cheaper than new parts or a whole new chair. Loose screws? They’re noise ninjas and stability snipers. Shut them down early.
A little love for your chair’s hardware keeps it standing strong, sitting right, and staying silent. Your back (and coworkers) will thank you! Perform monthly as part of the maintenance cycle.
Lubricating Moving Parts for Smooth Performance

Now that you’ve wrestled those runaway screws into submission and silenced the wobble monsters, let’s grease the wheels—literally. Lubricating moving parts keeps your chair gliding smoothly and squeak-free. Clean parts first, protect your floor with a plastic sheet, and use a straw attachment for precision. It’s important to use the right lubricant because incorrect products like WD40 can degrade mechanisms over time, reducing performance and longevity (avoid WD40). Here’s your quick-reference guide:
| Part to Lubricate | Recommended Lubricant | Frequency |
|---|---|---|
| Casters | Graphite or silicone spray | Every 6 months |
| Tilt mechanism | White lithium grease | Every 6 months |
| Height adjustment | WD-40 Silicone Fast Dry | Every 6 months |
| Pivot points | White lithium grease | Every few months |
| Joints & hinges | Silicone-based spray | As needed |
Apply, move the part to spread the lube, then wipe off excess. You’ll reduce friction, extend life, and keep your chair whisper-quiet—like a ninja on wheels.
Replacing Worn Components to Save on Replacement Costs
When your office chair starts limping like a three-legged dog or sinking lower every time you sit down, it’s probably not time to throw in the towel—replacing worn parts can breathe new life into your trusty seat without breaking the bank.
Swap out sticky casters or cracked armrests yourself; they’re cheap and easy fixes.
If your chair won’t hold height, a new gas cylinder might do the trick—though you might want a pro for that.
Think twice if repair costs hit over half what a new chair would cost.
Younger chairs? Worth every penny.
Older ones with multiple issues? Maybe time to say goodbye.
Grab OEM parts for perfect fits, or go aftermarket to save cash—just check the specs.
And hey, fixing your chair beats dragging a new one up the stairs.
Plus, your back (and wallet) will thank you.
Who knew a wobbly office buddy could get a second chance?
Making Proper Adjustments for Optimal Support

Ever wonder why your back throws a tantrum halfway through the workday?
Chances are, your chair’s not adjusted right.
Start by setting your seat height so your elbows sit level with your desk and your feet rest flat, knees at or above hips.
Leave a clenched-fist’s space between seat edge and calves—no pinching!
Slide the seat forward or back so there’s 2–3 fingers’ room behind your knees.
Now, hug your lumbar: adjust the backrest so its curve cradles your lower back, not your ribs.
Tighten the tilt tension so you don’t tip back mid-thought.
Set armrests just under your elbows at 90 degrees—keep them low to avoid shoulder hike.
Shorter arms? No problem.
Finally, lean back comfortably, stay supported, and stop slouching like a teenager.
A well-tuned chair doesn’t just feel great—it keeps you thriving, one comfy hour at a time.
Adopting Protective Habits to Maximize Durability
You’ve nailed the perfect seat height, hugged your lumbar like it owes you money, and stopped slouching like your mom’s watching—awesome!
Now, let’s protect that sweet setup.
Skip leaning on armrests like they’re nightclub bouncers—they’re not built for acrobatics.
Keep chairs 5 feet from windows to dodge UV damage sneaking up on your fabric.
Use a chair mat—it saves your floor and makes rolling smoother than your Monday morning excuses.
Vacuum casters weekly; hair and gunk love to party in there.
Skip harsh cleaners, and never soak the upholstery—this ain’t a pool party.
Throw on protective covers to block spills and sweat, because life happens.
And hey, stop dragging your mesh with rough cloths—it hates that.
Treat your chair like a rideable pet: love it, clean it, and it’ll last way longer.
Frequently Asked Questions
How Often Should I Replace My Chair’s Gas Lift?
You should replace your chair’s gas lift every 5 to 10 years, depending on how often you use it and your weight.
If it starts sinking unexpectedly or you’re adjusting height nonstop, it’s time.
Don’t wait for a dramatic collapse—your back will thank you!
Keep it clean, lubed, and treated gently, and it’ll last longer.
Think of it like socks: great until they suddenly aren’t.
Can I Use Household Oils Instead of Silicone Spray?
Yes, you can use household oils instead of silicone spray, but they’re not ideal.
Sure, olive oil or beeswax smooth things over, but they attract dust and gunk up faster.
Vegetable oils might leave sticky spots, demanding more cleanup.
For lasting slickness without the slime, silicone’s your superstar.
Think of it as choosing syrup over soap—sweet, but messy long-term.
Stick with silicone when you can, save the kitchen stash for pancakes!
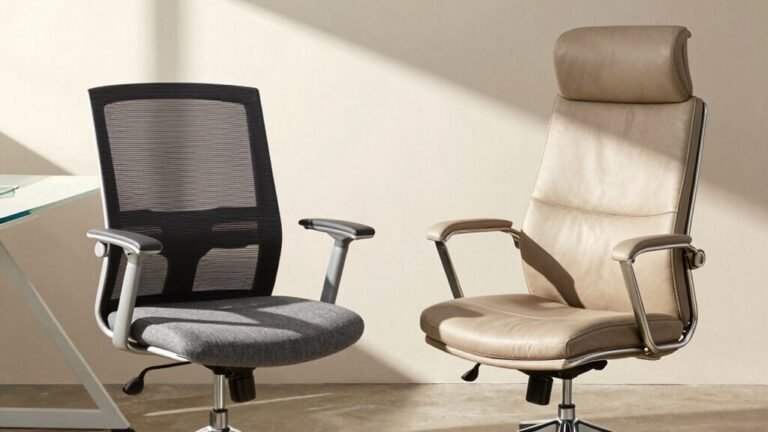
Are Leather Chairs More Durable Than Fabric Ones?
Yeah, leather chairs usually last longer than fabric ones—you’re looking at 8–10 years if you treat them right, while fabric might tap out around 5–8.
Leather handles spills and scratches better, but it’s not invincible.
Skip the olive oil, though; it clogs pores and attracts grime.
Use proper conditioners, keep it out of direct sun, and wipe spills fast.
Treat your chair nice, and it’ll keep you comfy and looking sharp for years!
What Signs Indicate My Chair Frame Is Weakening?
You’re in trouble if your chair wobbles like it’s dancing, leans like it’s tired, or creaks like an old barn. Notice cracks, rust, or bent parts? That’s your frame crying for help.
If it sinks suddenly, tips easily, or feels shaky when you sit, don’t ignore it—those are red flags.
Loose screws, slipping tilt, or wheels popping off? Yeah, it’s begging for retirement.
Safety first—replace it before you end up on the floor mid-sip of coffee!
Is It Safe to Disassemble the Chair for Deep Cleaning?
Yeah, it’s totally safe to take your chair apart for a deep clean—if you do it right.
Just flip it, loosen parts gently, and keep screws labeled.
Avoid yanking or over-wetting, and always spot-test cleaners.
You’ll dodge damage, dodge mildew, and give grime the boot.
Plus, who doesn’t love a squeaky-clean spin on their office throne?
It’s like a spa day, but for chairs.
Conclusion
You’ve wiped, tightened, and lubed—now, what’s the one habit that could secretly sabotage it all? Think about it. A squeaky wheel gets the oil, but a wobbly caster? That’s a silent chair killer. Keep those wheels spinning smoothly and your back thanking you. Do it right, stay sharp, and your chair might just outlive your next job. Bet you didn’t see that coming!